Getting started with GenOffice: from download to AI editing your Word files
Hands-on GenOffice setup on macOS: install and verify, connect a local model, generate and revise .docx files, hand the CLI to coding agents.

By the end of this tutorial you will have three things on your machine: a desktop office suite that reads and writes native .docx, .xlsx, and .pptx; an AI agent beside every editor that can run on your own model, local ones included; and a genoffice command line that lets Claude Code, Codex, or Cursor create and edit Office files directly. All of it is free and Apache-2.0 open source. Everything below was hands-on tested on Apple Silicon macOS on 2026-10-11 against v0.11.505 (released 2026-10-09, signed installers for all three platforms); the Windows and Linux steps quote the official documentation and are marked as such. For project background and a ten-way comparison against the alternatives, read “How to pick a free Microsoft Office alternative”.
Key points
- GenOffice v0.11.505 ships signed installers for macOS (Apple Silicon and Intel), Windows (x64 and ARM64), and Linux (deb/rpm/AppImage), requiring macOS 11+, Windows 10+, or glibc 2.34+.
- On macOS we tested a custom OpenAI-compatible endpoint: paste the Base URL and key, hit Test connection, and it passes — with the model list auto-discovered and the key stored only on the device.
- The bundled
genofficeCLI works out of the box: Markdown converted to .docx with Chinese content intact end to end,inforeading back structure, andrenderexporting one PNG per page.
What you end up with
Check the requirements first: macOS 11 or newer (Apple Silicon and Intel builds), Windows 10/11 (x64 and ARM64), or Linux x86_64 on glibc 2.34 or newer (Ubuntu 22.04, Fedora 35, RHEL 9 and up). After install you get six editors — Docs, Sheets, Slides, PDF, Markdown, HTML — sharing one tabbed shell, with ~/Documents/GenOffice as the default work folder. Opening, editing, saving, and format conversion all happen on-device; only AI calls leave the machine.
There are three ways to feed the AI, covered one by one below: sign in to Genspark for zero configuration, paste a key from any of the 26 preset providers (Claude, OpenAI, Gemini, DeepSeek, GLM, Qwen, Kimi, and the rest), or point it at any OpenAI-compatible endpoint, local inference servers included.
Installing on three platforms
macOS, hands-on
Download the dmg for your architecture (arm64 here, 182 MB), then mount, copy, and verify in one pass:
curl -L -o /tmp/GenOffice-0.11.505-arm64.dmg \
  https://github.com/genspark-ai/genoffice/releases/download/v0.11.505/GenOffice-0.11.505-arm64.dmg
hdiutil attach -nobrowse /tmp/GenOffice-0.11.505-arm64.dmg
cp -R "/Volumes/GenOffice 0.11.505-arm64/GenOffice.app" /Applications/
spctl -a -v /Applications/GenOffice.app
# tested output: accepted, source=Notarized Developer ID
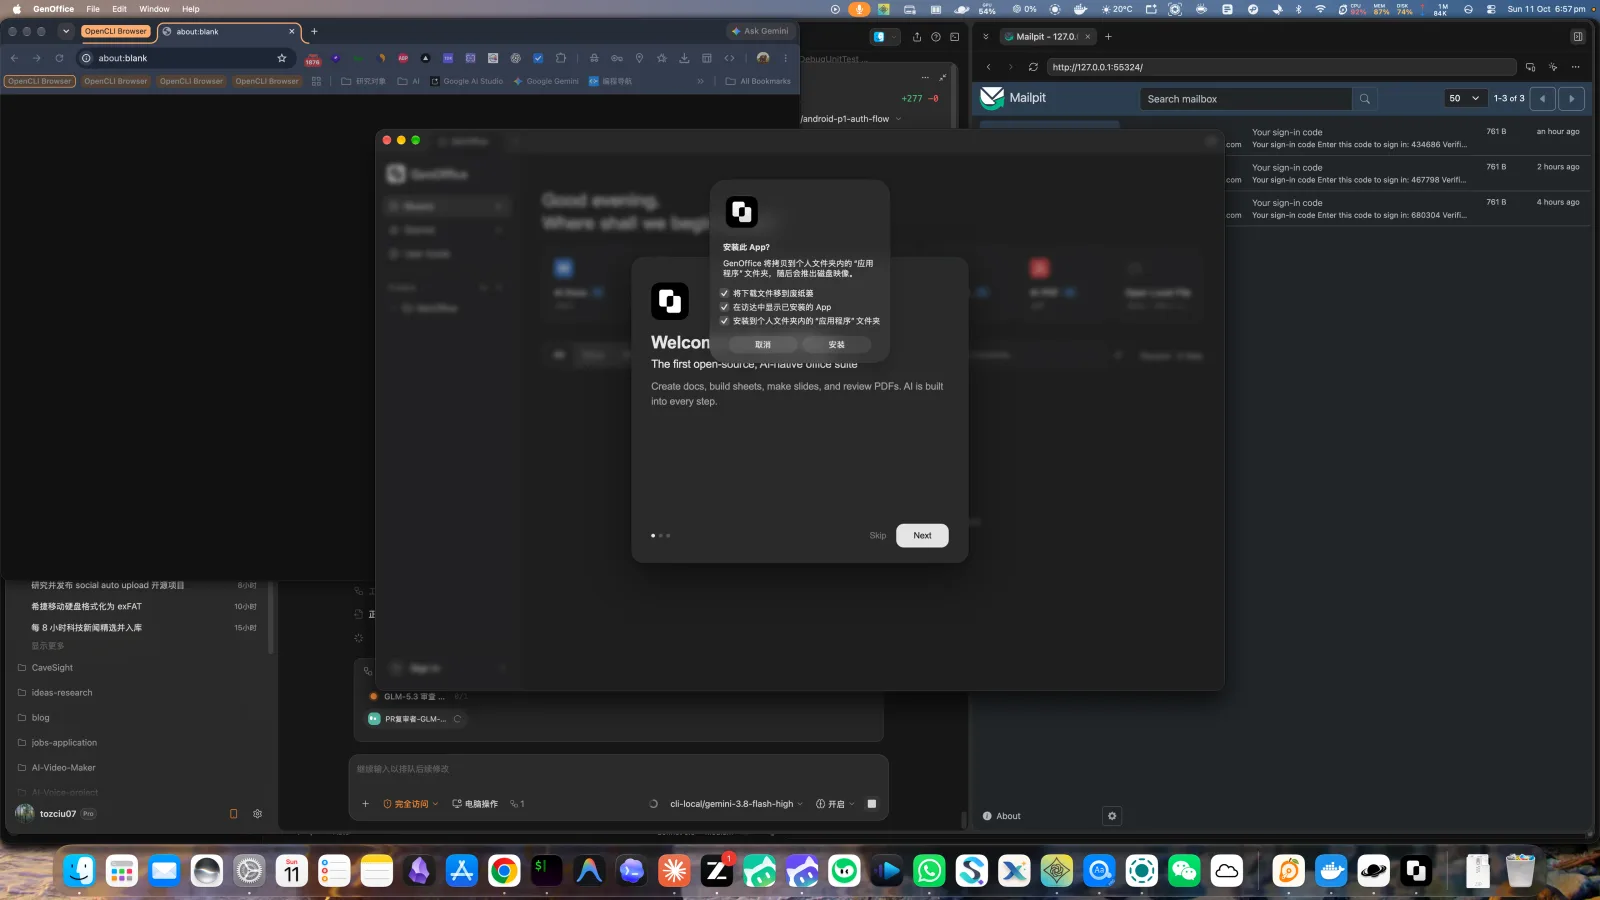
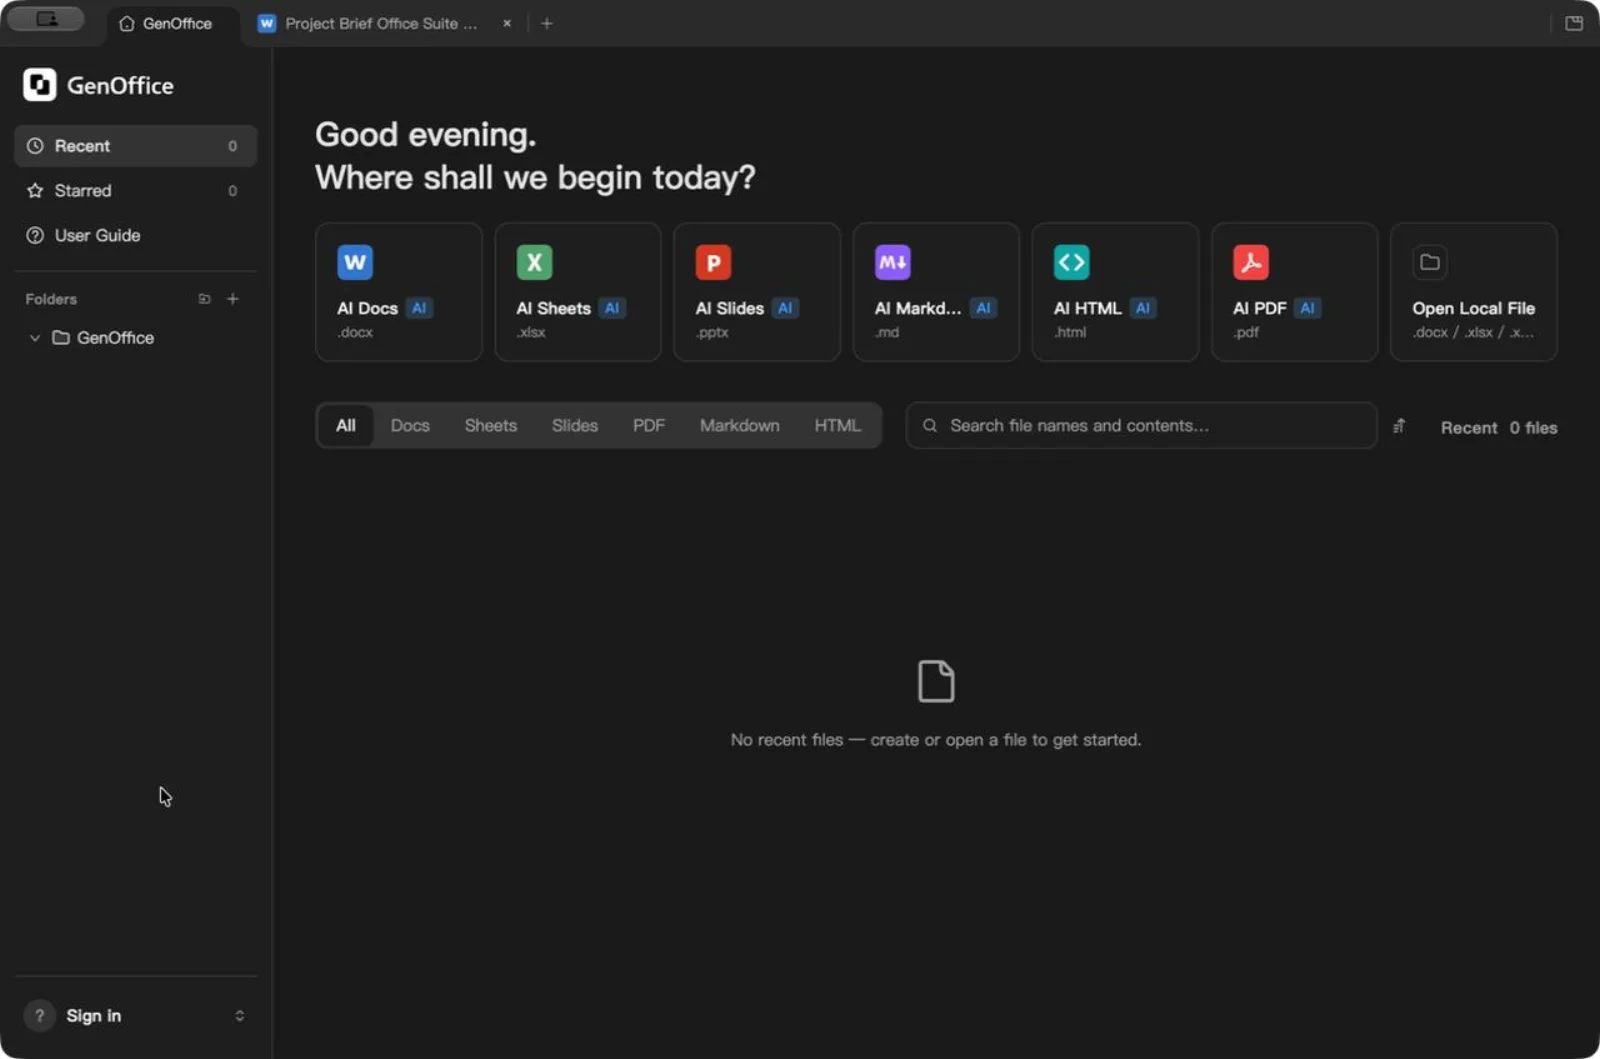
The installed app takes about 518 MB. First launch shows a three-page welcome carousel (Skip is right there), after which a browser-style “Install this App?” dialog may appear — that is the built-in update channel prompting; click Cancel and you land in the main window with nothing lost.
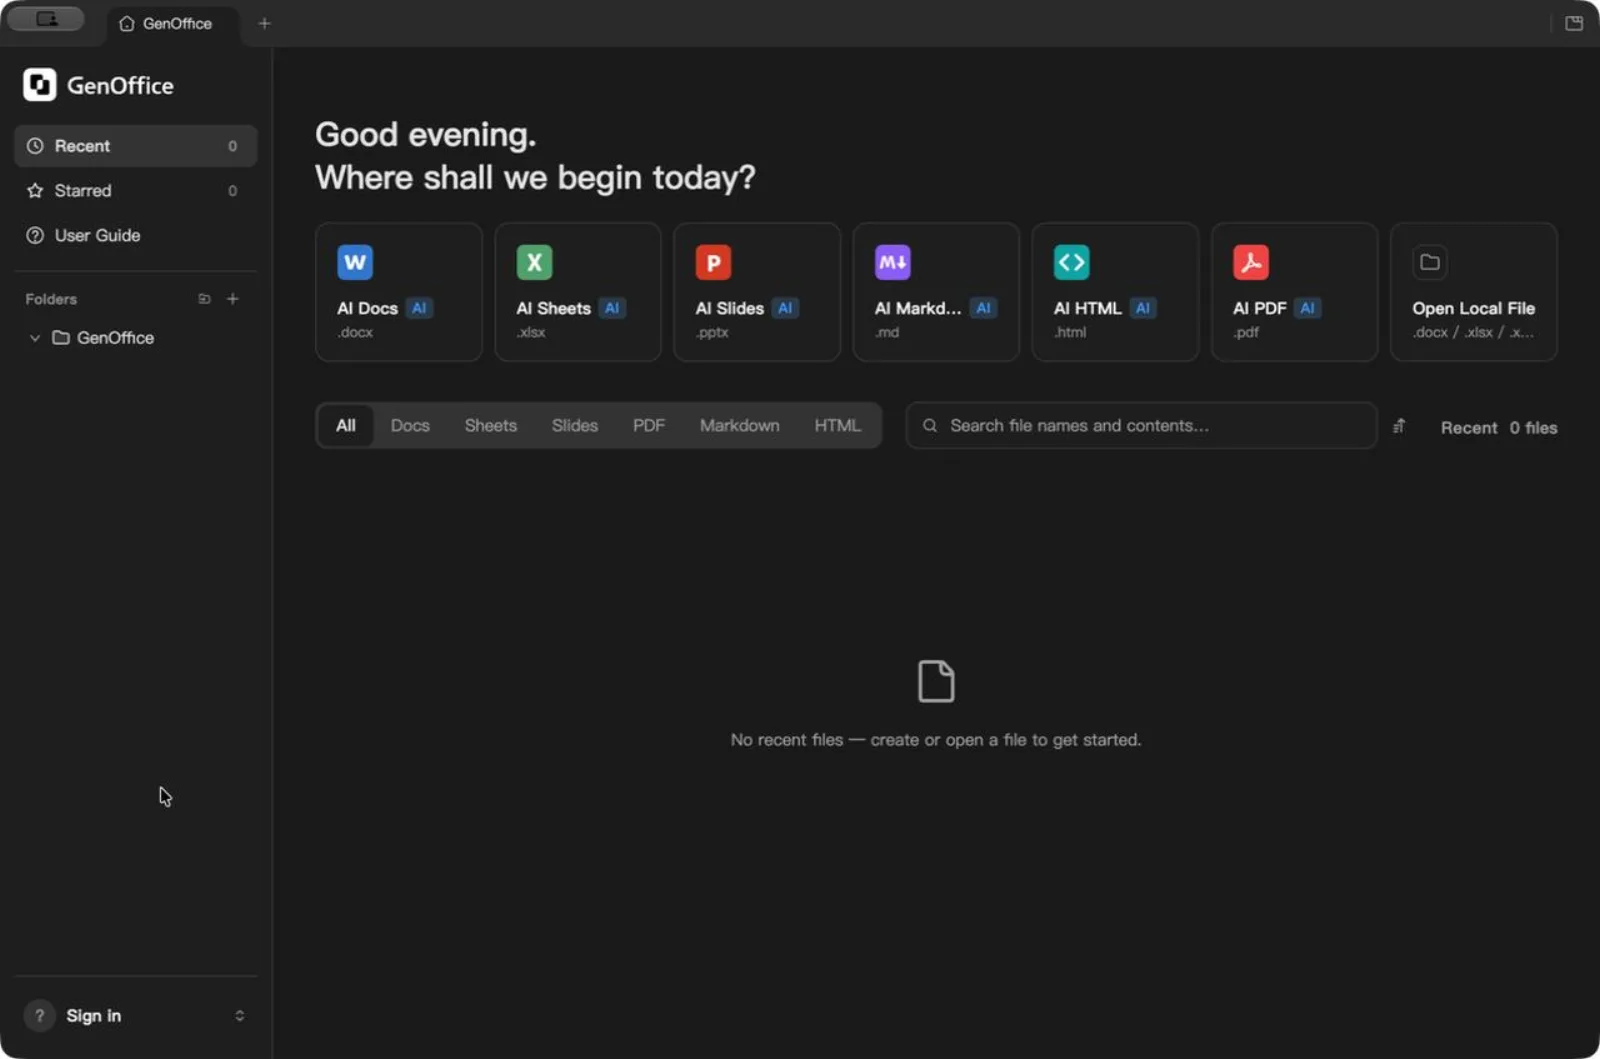
The home screen lists your recent files, starred files, and work folders on the left, a Quick start grid with the six AI editors in the middle, and a search box that full-text-indexes the work folder (CJK-aware tokenizing included).
Windows and Linux
On Windows, run GenOfficeSetup-v0.11.505-x64.exe (arm64 build for ARM devices); the installer carries a DigiCert EV signature. On Linux, pick the package matching your distribution (commands below are from the official README):
sudo apt install ./genoffice_0.11.505_amd64.deb     # Debian/Ubuntu
sudo dnf install ./genoffice-0.11.505.x86_64.rpm    # Fedora/RHEL
chmod +x GenOffice-0.11.505.AppImage && ./GenOffice-0.11.505.AppImage
The AppImage needs the FUSE 2 runtime (libfuse2t64 on Ubuntu 24.04).
Three ways to configure the model
Open Settings from the ”?” button at the bottom left and pick AI Model. The three routes, ordered by effort:
Route one: sign in to Genspark. Under Account, “Sign in with Genspark” routes model calls through the Genspark proxy (Claude, GPT, and Gemini families) and switches on web search, image generation, and other cloud tools, paid in Genspark credits.
Route two: a preset provider key. Choose one of 26 presets in the Provider dropdown (Claude, OpenAI, Gemini, DeepSeek, Kimi, GLM, Qwen, Doubao, MiniMax, Grok, OpenRouter, and more), paste the key, save. Note that web search and image generation are configured separately under AI Media & Search, with their own providers (Serper, Tavily, and friends).
Route three: a custom endpoint, local models included (tested). Set Provider to Custom and fill in a name, Base URL, and API key; the Model dropdown auto-populates from the endpoint’s /v1/models list. In our test the Base URL pointed at a local OpenAI-compatible server (http://127.0.0.1:8317/v1); all 38 models appeared, selecting glm-5.3 and clicking Test connection returned Connection OK within seconds.
Three details worth knowing: keys are stored only on this device (the settings page says so); you can save several endpoints and switch between them via Add endpoint; and the default Max output tokens of 32768 is shared by reasoning tokens — if a thinking model feels slow, lower the budget or switch to a non-reasoning model.
First AI-generated document
From the home screen, click AI Docs and type a one-line brief into the right-hand panel, for example:
Draft a short project brief (under 200 words) for a 5-person team
migrating from Microsoft Office to an open-source office suite.
Include goal, scope, risks, timeline.
With glm-5.3, the panel showed a Thinking phase for a few dozen seconds, then the document landed in one pass: four headed sections, the word count and page indicator updating live, and the file auto-saved as a real .docx under ~/Documents/GenOffice/ with the tab renamed to match. Below the reply sit three buttons: Copy reply, Regenerate, and Roll back — every AI turn is a snapshot you can undo as a whole.
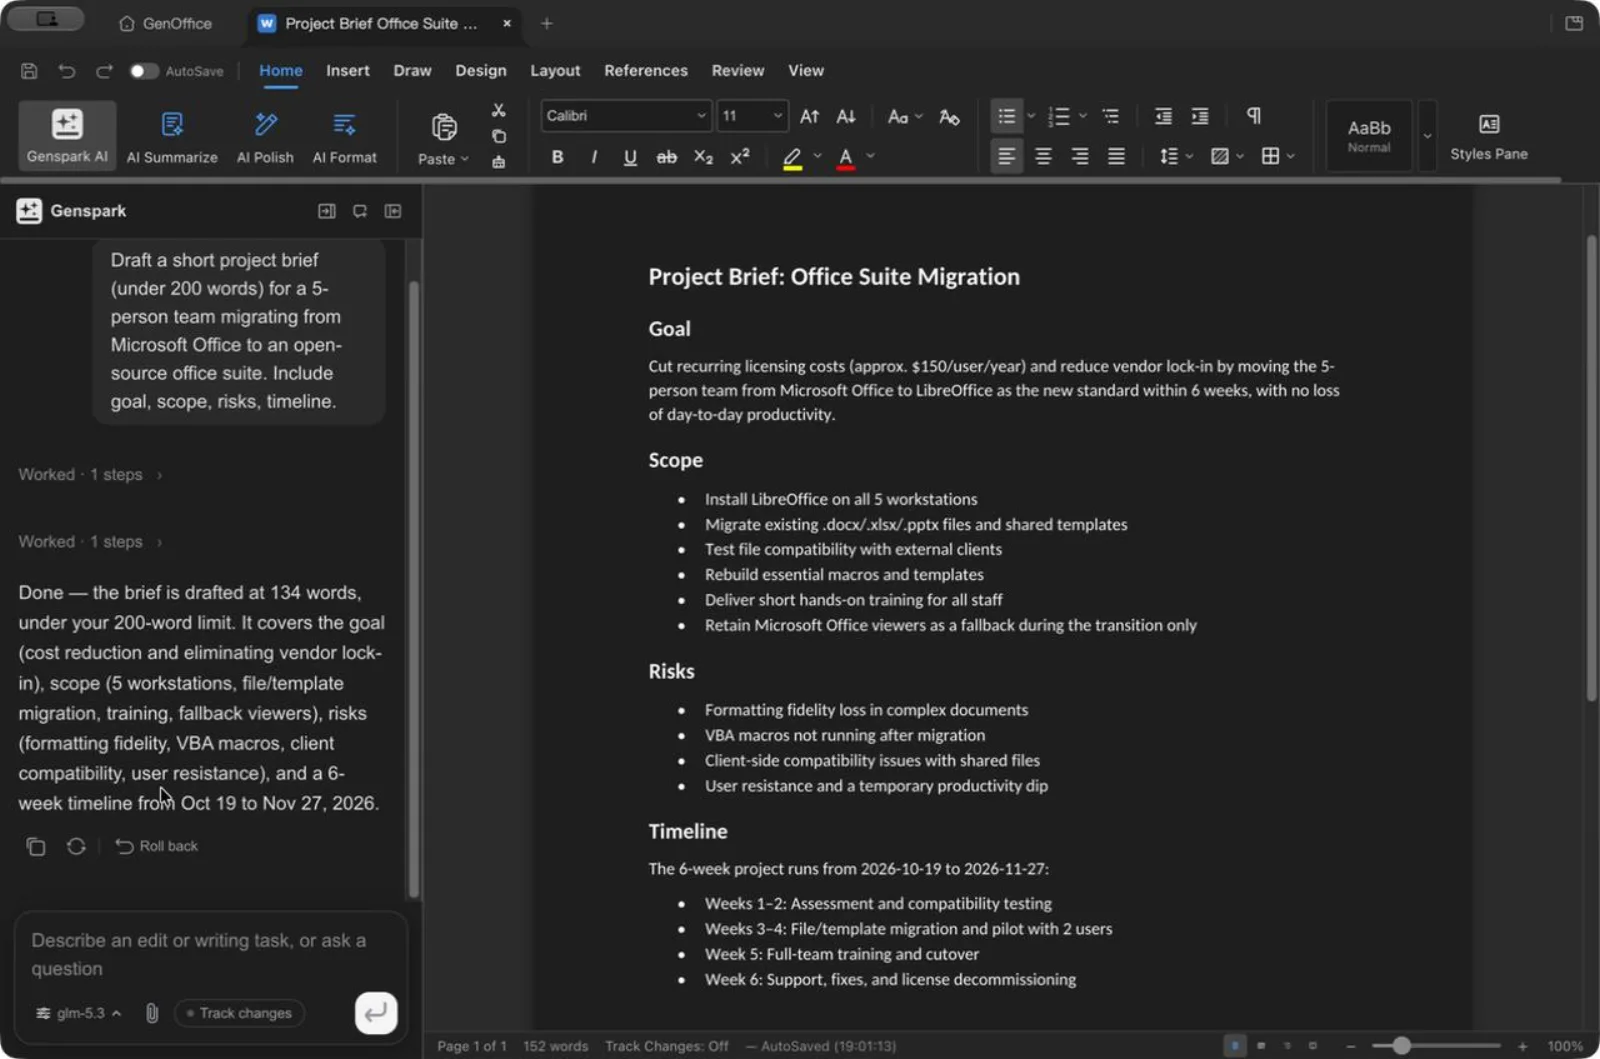
For human review on top, switch on Track changes next to the AI input first; AI edits then land as Word-style revisions you accept or reject one by one.
Editing an existing document
The second round of our test kept instructing the same file:
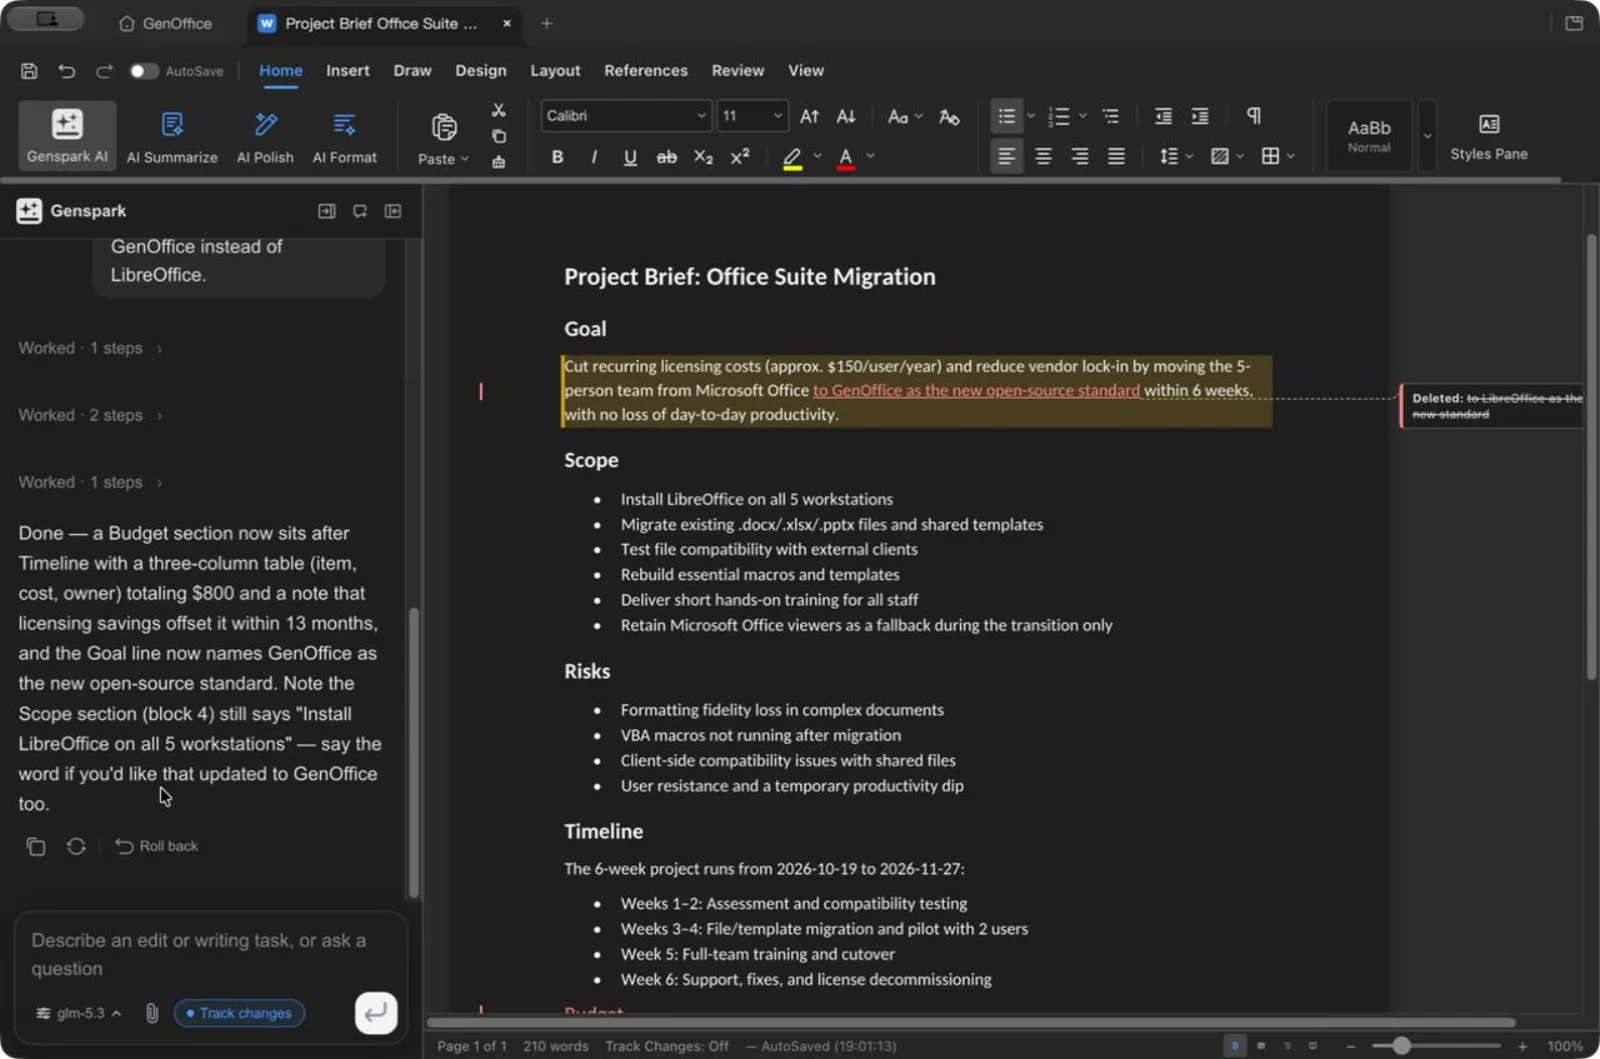
Add a short Budget section after Timeline with a small table
(item, cost, owner). Also fix the Goal line to mention GenOffice
instead of LibreOffice.
The agent worked in two steps: read the document structure, then insert a three-column table (software, training, contingency, $800 total) and rewrite the Goal line — and the reply volunteered that the Scope section still said LibreOffice, offering to change it too. That habit of reporting what it did not touch is where this differs from a find-and-replace. The saved .docx opens clean in Word, because only the changed blocks are rewritten and everything else survives byte-for-byte.
What each editor is good at
| Editor | One-line pitch | Status here |
|---|---|---|
| Docs .docx | Revision-style AI edits with snapshot rollback | Tested in this piece |
| Sheets .xlsx | Rust engine; AI writes live formulas and cites cells | Generation and structure tested; deep features per docs |
| Slides .pptx | One prompt to a full deck, editable on canvas | Per docs and third-party review |
| In-place text editing, on-device Office conversion | Per docs | |
| HTML | Design brief first, one-prompt single-file pages | Per docs |
| Markdown | Block editor with selection-level Ask AI | Per docs |
A hands-on Chinese review (WeChat article, linked in sources) rates the slide generation as middling but usable and the HTML page builder as the standout — directions consistent with the official demos. Before relying on either, run one round with your own material.
Handing it to a coding agent
Installing the app also links the genoffice CLI into your PATH (here: ~/.local/bin/genoffice). Four commands, tested:
genoffice --version                     # 0.11.505
printf '# Notes\n\nChinese round-trip test.\n' > note.md
genoffice convert note.md --to docx --out note.docx   # Markdown to a real .docx
genoffice info note.docx                # blocks, headings, table counts
genoffice render note.docx --out shots/ # one PNG per page to self-check
info on the converted file read back 7 blocks and 1 heading with the Chinese text intact. To teach a coding agent the workflow, either open Settings → Integrations, which lists the agents found on the machine (Claude Code, Codex, Cursor, and more) and writes the skill in one click, or run npx skills add genspark-ai/genoffice. The MCP server registers into Claude Code with one line (official instructions): claude mcp add --transport stdio genoffice -- genoffice mcp, exposing 29 tools covering create, convert, read, edit, and render.
Things that trip people up
- The “Install this App?” dialog at first launch comes from the built-in update channel; Cancel dismisses it and nothing is lost.
- A silent AI panel usually means no working model under Settings → AI Model — treat Connection OK as the only reliable signal, and remember local endpoints need the
/v1suffix. - Slow responses on thinking models are normal: reasoning consumes the output budget. Lower Max output tokens or pick a non-reasoning model when in a hurry.
- Official builds send limited usage statistics by default; you can switch that off in settings, and the privacy statement says no document content, file names, or account identity are included.
- Do not point it at critical files yet: the project iterates fast through its 0.11.x releases, so back up or version-control anything before letting the AI batch-edit it.
Going further
Installation is only the start. For the ten-way comparison against LibreOffice, OnlyOffice, and the WPS free tier — with picks per component and per type of user — read “How to pick a free Microsoft Office alternative”, and track the project itself via our GenOffice entry. If you have repetitive document work — batch contract edits, data-driven reports — reread the coding-agent section: the CLI and MCP server are where this suite pays off over time.